Showing posts with label Zoya. Show all posts

Sunday, September 9, 2012

Procession of Purples

Here are the purple polishes that I picked over the last few months.


Purple Tips
Purple  Tips
Purple: Essie - Sexy Divide
Glitter: Color Club - Lilac Hologram
Pink: Essie - Vanity Fairest

A little twist on the basic french manicure. I started with two coats of the pink and free handed the purple tips. And just to cover up any imperfections I traced the purple glitter along the edge of the tips. 


Zoya - Yasmeen
Yasmeen - The picture above isn't quite accurate, as with most of my purples this photo is coming off just a bit too blue. Yasmeen has a red toned shimmer that unfortunately isn't showing up. This reminds me a lot of Sexy Divide (my #1 purple), but SD is definitely a darker, more blue toned purple. Yasmeen is definitely moving up the list of favorite purples. 


Essie - Lilacism

Lilacism - I think I'm still on the fence about this polish. Like above, this picture is making the polish come off too blue. Lilacism is a dusty cream light purple. I'm not in love with this because it doesn't seem very special. I'm definitely a convert and love cream finish polishes, but because this one is kind of dirty looking the fact that there is no shimmer or sheen makes it forgettable.



Sunday, July 8, 2012

NOTW - Audrey Gets Inspired by the Internet

These are a few nail art designs that I found all over the internets (blogs, YouTube, Pinterest) and decided to try for myself. Here are the results:


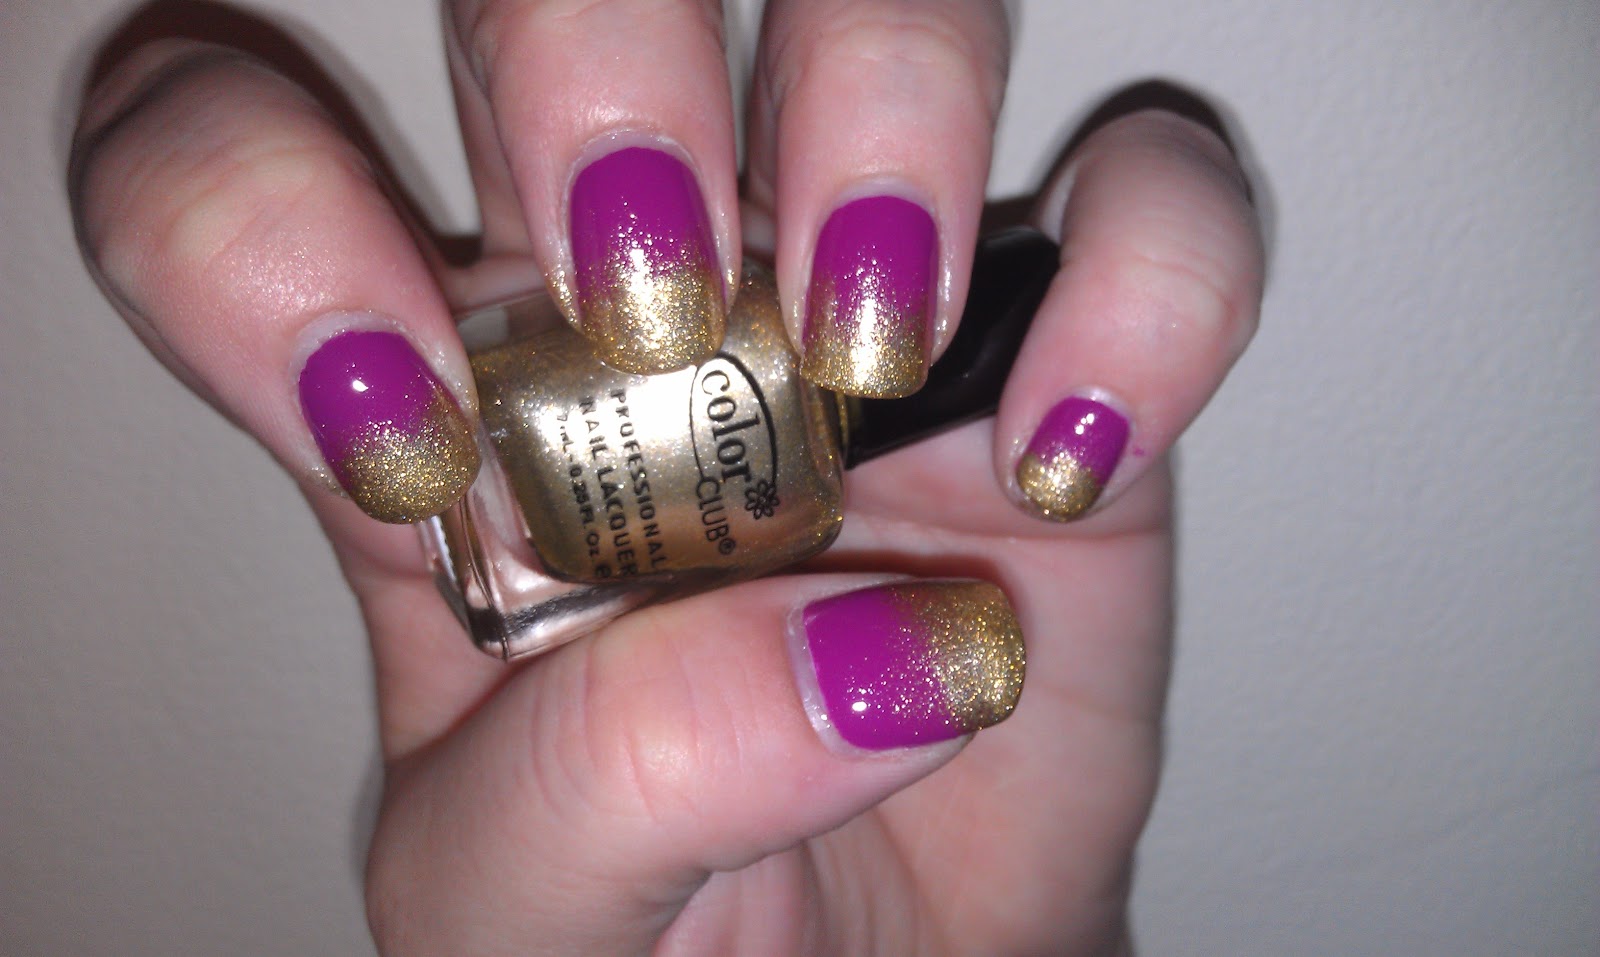
Effie Trinket Reaping Nails

The Polish: 
     Purple: Zoya - Reagan
     Gold: Color Club - Disco Nap
 
The Process: I started with my few day old Reagan mani and decided to extend it with gold tips. I painted the gold polish onto the end of a cosmetic sponge and began dabbing it on the tip of my nail. I focused on the tip first to get the gold opaque and then moved gradually up the nail. When there was just a little gold left on the sponge I dabbed it all over the nail to get very subtle gold gradient.

The Inspiration: To be fair there are a bunch of YouTube tutorials out there and plenty of versions on Pinterest, but here are the first two that I saw: julieg713, cutepolish


White On Black Half Moon Mani

The Polish: 
      Black: China Glaze - Liquid Leather
      White: Sally Hansen - White On
      Glitter: Kiss Nail Art Paint - Silver Glitter

The Process: This is actually one of the simplest nail art designs to work with and it's so easy to change it up and play with different colors/combos. First, I painted all my nails black (I suggest using an opaque-in-one-coat polish so there is less drying time). After the base polish is dry, I placed one of those hole reinforcement stickers, cut in half, on each nail covering as much of the black that I want to be exposed at the end of the mani. I then painted the tips of each nail white and let that color dry almost completely before removing the stickers. The nice thing about adding the glitter is that if there are any imperfections after pulling up the stickers, the glitter will cover it.

The Inspiration: I got this idea from a pin I found during one of my first browsing sessions through Pinterest, and here is the link to the actual blog post from Let them have Polish!


AMERICA!!!!!!!

The Polish:
     Red: Sinful Colors - Ruby Ruby
     White: Sally Hansen - White On
     Blue: Sally Hansen - Pacific Blue
     Glitter: Essie - Set in Stones 
     Stars: Michaels Confetti Stars (I actually only found white stars in the "It's a Girl" confetti pack so I got 
        those, but I also bought a pack of multi-color stars)

The Process: My version of this began by painting by thumb and index finger blue and then painting the rest white. I waited for my nails to be fairly dry before I started the actual nail art process. I had some blank sticker labels laying around, so I cut those into strips and placed a couple on my pinkie and middle finger. I painted the entire nail red, after it dried I pulled off the strips to uncover the white underneath. Just to add a little sparkle, I topped my ring finger with some glitter (basically one coat, with a couple glitters strategically placed). On to the stars, I put a dab of clear polish where I wanted the stars and placed them around the nail. To be honest I would do this differently if was ever going to put stars on my nails again. I needed to push the stars into the blue polish more and they needed to be shaped a little so they actually fit the curve of my nail and didn't stick out and scratch the bejezzus out of everything.

The Inspiration: This design comes from MissJenFABULOUS, you can find her info on this design on YouTube, her Blog, or Pinterest.


NOTW - Reagan, Don't Touch My Tutu!, Blue-Ming


Zoya - Reagan
Reagan - Zoya you are definitely out of the dog house***. Initially I wasn't super interested in the Beach/Surf collection, but then Zoya had a really good deal and I decided to take advantage. I ended up getting two polishes (Zuza, Kimber) from the Surf group (shimmers) and one polish (Reagan) from the Beach group (creams). Zoya shimmers have given me some trouble in the past, but I didn't seem to have any problems with these, and as expected the cream applied like a dream. I love this color, I mean I know I like purples, but this has a lot of pinkish/red. I couldn't stop looking at this color, it's just so different from anything else I have.


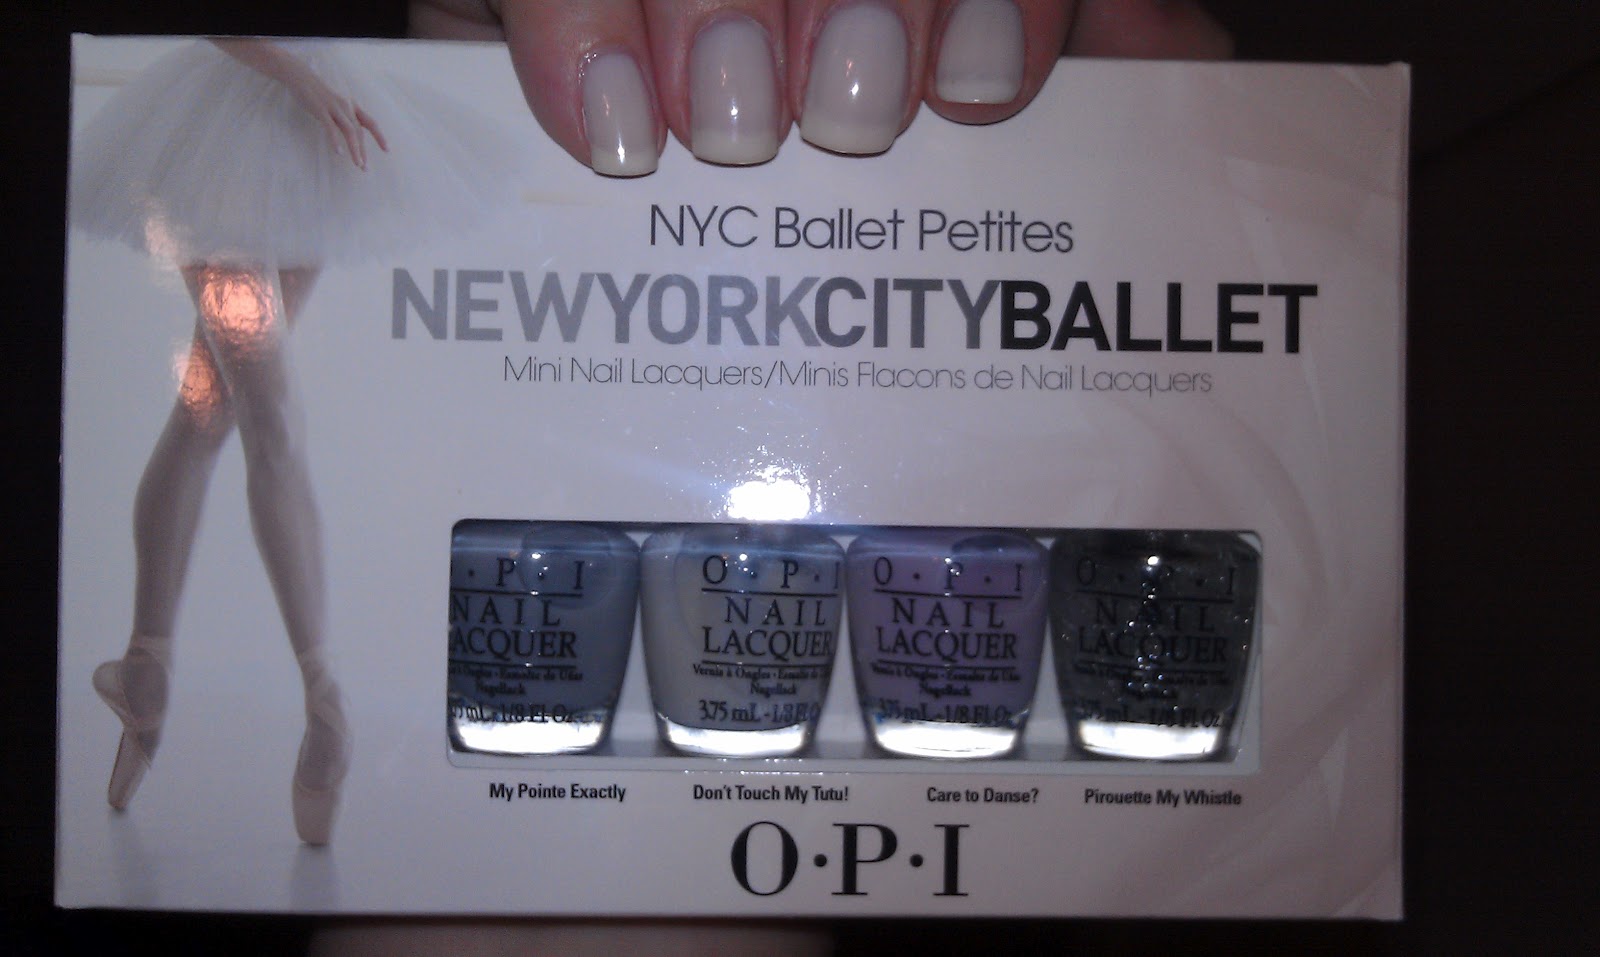
OPI - Don't Touch My Tutu!

OPI - NYC Ballet Mini Collection

Don't Touch My Tutu! - I almost don't know why I bought this mini collection. OPI minis are reeeeeaaaalllly small and after I swatched them I thought I would never use them because they are extremely sheer. Why I think I may like them now: it's like a subtle, easy french mani using only one polish. The above pic is at least 3 coats (it might be 4 I can't remember now), and you can clearly see my nail lines, but that's obviously the pointe (har, har). I hate sheer colors that show my nail lines, but because these aren't bright colors I actually like the effect. The mini collection comes with a grey, white (pictured), purple, and a glitter top coat. I practically used half the mini to get the look I wanted so I may buy a full size or I might try the sheer pink. I feel like the grey might look too dirty and I will probably love the purple, because I'm me. Sadly, the glitter dried out, which I have never experienced with a polish, so I guess I won't be using that again (although it wasn't that special so I'm sure I can make do with any of the other glitters in my collection).


Color Club - Blue-Ming

Blue-Ming - Love love LoVe lOvE LOVE! The pic is with the flash so I think it shows up a touch more blue than real life, without the flash it was a bit on the green side. This is just a really gorgeous minty, Tiffany-esque, blue/green. The reason it's topping the favorites list is that is bright, not neon bright but also not dirty, dusty looking like CG For Audrey or CG Aquadelic. I got a lot of compliments on this color, I think because it's just such a beautiful color, it's flattering, and it's right on the current mint trend.


*** First, Zoya posts a lot of deals and coupons on their Facebook page, basically the reason I decided to get any of the Beach/Surf collection polishes. Second, they have a share the love program that gives you points for sharing links or posting things on Facebook and those posts can be redeemed for additional deals. Third, whenever you order from Zoya you get free stuff, for small purchases it's usually just color spoons of the collection you purchased from, but when you start spending more you get better freebies (mini Remove, Qtica sugar scrubs).


Thursday, July 5, 2012

NOTW - Weekend Nails 2

Continuing to be ridiculous on the weekend.

Kitty, Kitty 


As you might have guessed based on some previous nail art attempts, I did not paint these nails myself. This wasn't the first set of Sally Hansen Salon Effects Nail Polish Strips that I had purchased, but these were the first that I have actually used. I wanted something fancy, but I didn't have a lot of time to experiment and wait for my nails to dry, so these really fit the bill. They weren't too difficult to put on and there was no drying time (although I did put on a top coat, just to extend the mani). The only thing I didn't like was that the directions told you to stretch the strip over your nail, but I felt like it ended up shrinking and then my nail was showing around the polish. OK so there was one more thing I didn't like. You can remove these strips just using regular remover but it was a bit more difficult than that. The gold background removed easily, but the brown spots flecked all over the place and my fingers looked crazy. *Note - Kitty, Kitty really is the name of this pattern*


Sunset Over the Ocean


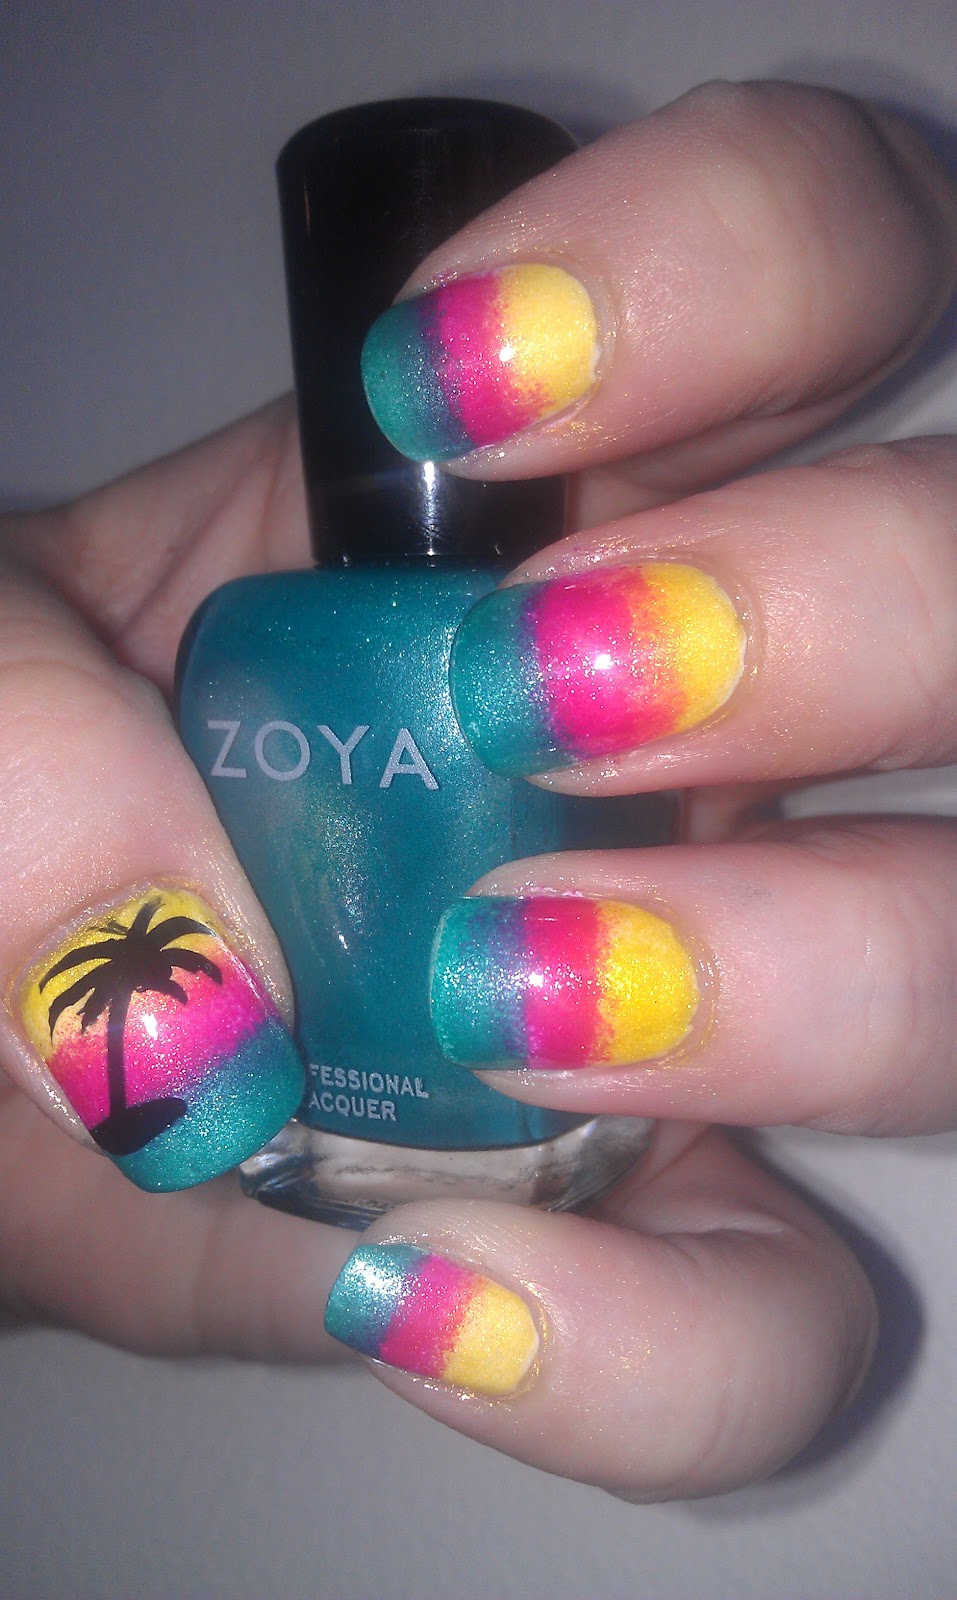
My attempt at a ocean/beach/sunset/palm tree/summer design. As I was doing this I think I was a little focused on the details and didn't see the big picture until the end; next time I would actually blend between the colors a bit more so there is actually a more obvious gradient, not just stripes.

The Process:
1. Started by painting by nails white (Sally Hansen - White On).

2. I used triangle cosmetic sponges to apply the rest of the polishes. I cut each one in half (the long way, if that makes sense), so that each large end is about the size of one nail. For my thumb I used an uncut sponge.

3. I started the actual sponging by painting a yellow stripe (Sally Hansen HD - Lite) at one end of the sponge and dabbed it at the base of the nail.

4. Followed the yellow with a pink stripe (Zoya - Kimber) on the sponge, even allowing them to overlap a bit. As I was dabbing the sponge on my nail, I lined the pink up just below the yellow. Like I mentioned before I would actually blend them into each other more by over lapping the pink over yellow and yellow over pink, to make a nice sunset orange.

5. Finally I repeated the previous step with the aqua color (Zoya - Zuza). The only difference was that after I lined up the sponge and layered the pink and aqua, I painted aqua on the edge of the sponge and dabbed some more polish on just the tip so I could get the color as opaque as I wanted.

6. Using a black striper I painted a palm tree on each of my thumbs. There wasn't a whole lot of technique here. I started with a little black mound, painted a curved line for the trunk, at the top of the tree I made an uneven circle for the palm fronds to come out of, finally each side of the tree got about four fronds of varying lengths.


Tuesday, June 5, 2012

NOTW - Sunshine Pop, Avery, Hazard

China Glaze - Sunshine Pop
Sunshine Pop - More like sunshine fizzle. I've never tried a yellow polish, so I thought I would give it a whirl...yeah pretty much never again. I think I'll reserve the yellow for something involving rainbows or Lisa Frank. Although it looks like it, this is not a "happy-face" yellow. The polish has some shimmer which is what makes it look less than pure, bright yellow. I felt like there was a slight (teeny, tiny slight) orange cast, which made the color look dingy on my nails. Overall, just not a fan of this on me.


Zoya - Avery
Avery - It may not seem very exciting, but I reeeeaaaallllllllllly liked this polish. I just couldn't think of anything "fun" that I wanted to do, so I decided to try out one of the other neutrals that I bought from Zoya a while ago. I have to say that I actually liked this a lot more than Kennedy (cuz they're sooooo different [this is a joke, I know that having polishes barely a shade different is silly, but I do, so that happened]). Zoya's website does a good job of describing the color, opacity, finish, and tone. I should really start paying more attention to that, becuase I need to stop buying cool toned polishes; they make my skin look terrible. Avery was more complementary to my skin tone and just made my fingers look long and elegant.


Sinful Colors - Hazard

Hazard - I thought this looked a lot like Coral Reef (although not based on the photo in a previous post, I feel like that pic made it look a bit more pink than real life), and CR also had that odd dingy look. I would definitely call Hazard an orange, but it's a soft orange. This is a very wearable, happy summer polish.